null
Defense Mechanisms

  • Sign in or Register
  • ()
close
  • Sign in or Register
  • Shop All
    • Discounted
  • Carrier Systems
    • Plate Carriers
    • Cummerbunds
    • Placard Systems
    • Chest Rigs
    • Armor
    • Discounted
  • Equipment
    • Belts
    • Pouches
    • Packs & Bags
    • Medical
    • Discounted
  • Support Gear
    • Helmet Support
    • Organization
    • Weapon Support
    • Breaching
    • PID Light
    • Replacement Parts
    • APOC Replacement Parts
    • Discounted
  • Apparel
    • Men's Apparel
    • Helion
    • Nexus
    • Baseline
    • Women's Apparel
    • Helion
    • Nexus
    • Baseline
    • Lifestyle
    • Discounted
  • Custom Patches
  • Gift Certificates
  1. Home
  2. Breach Point
  3. Rifle Sling Setup Simplified: A Step-by-Step Guide to install your Defense Mechanisms Rifle Sling Pad
Rifle Sling Setup Simplified: A Step-by-Step Guide to install your Defense Mechanisms Rifle Sling Pad

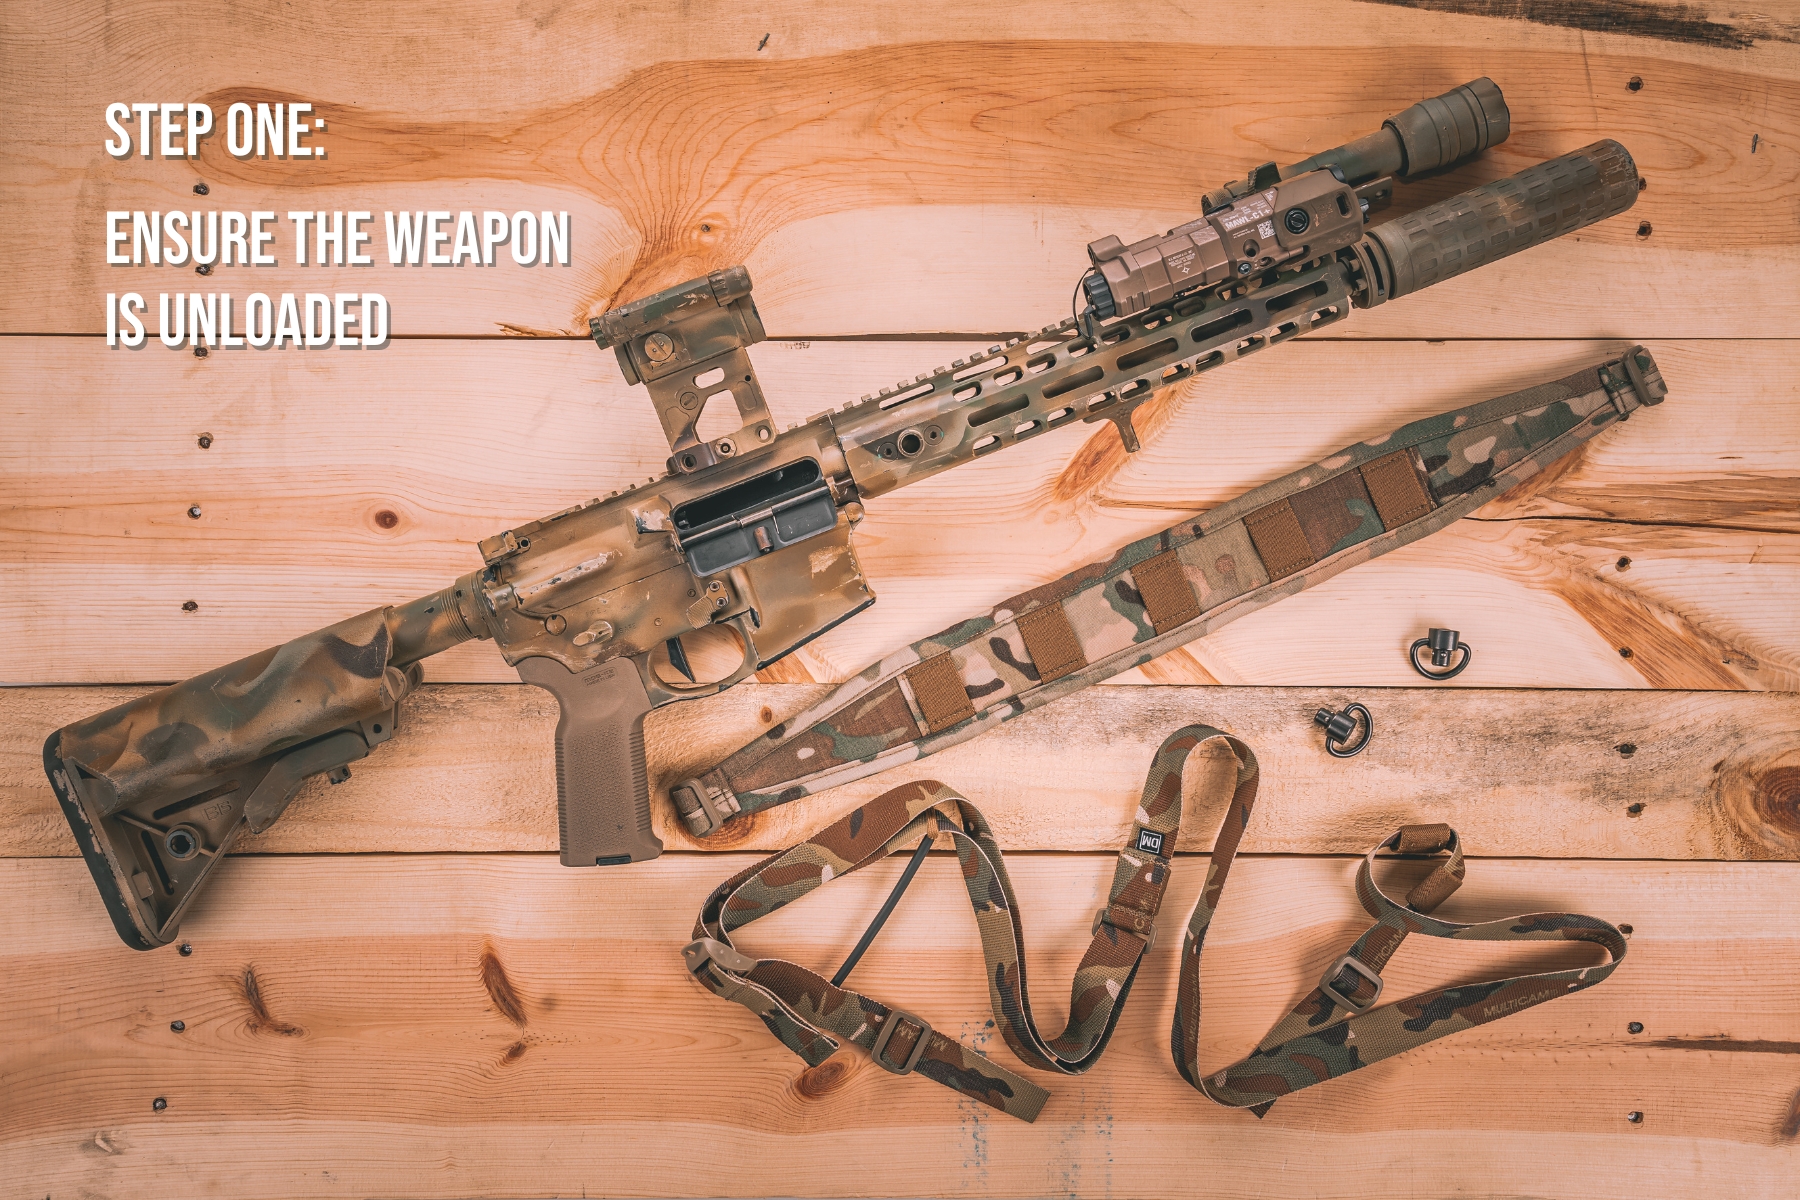
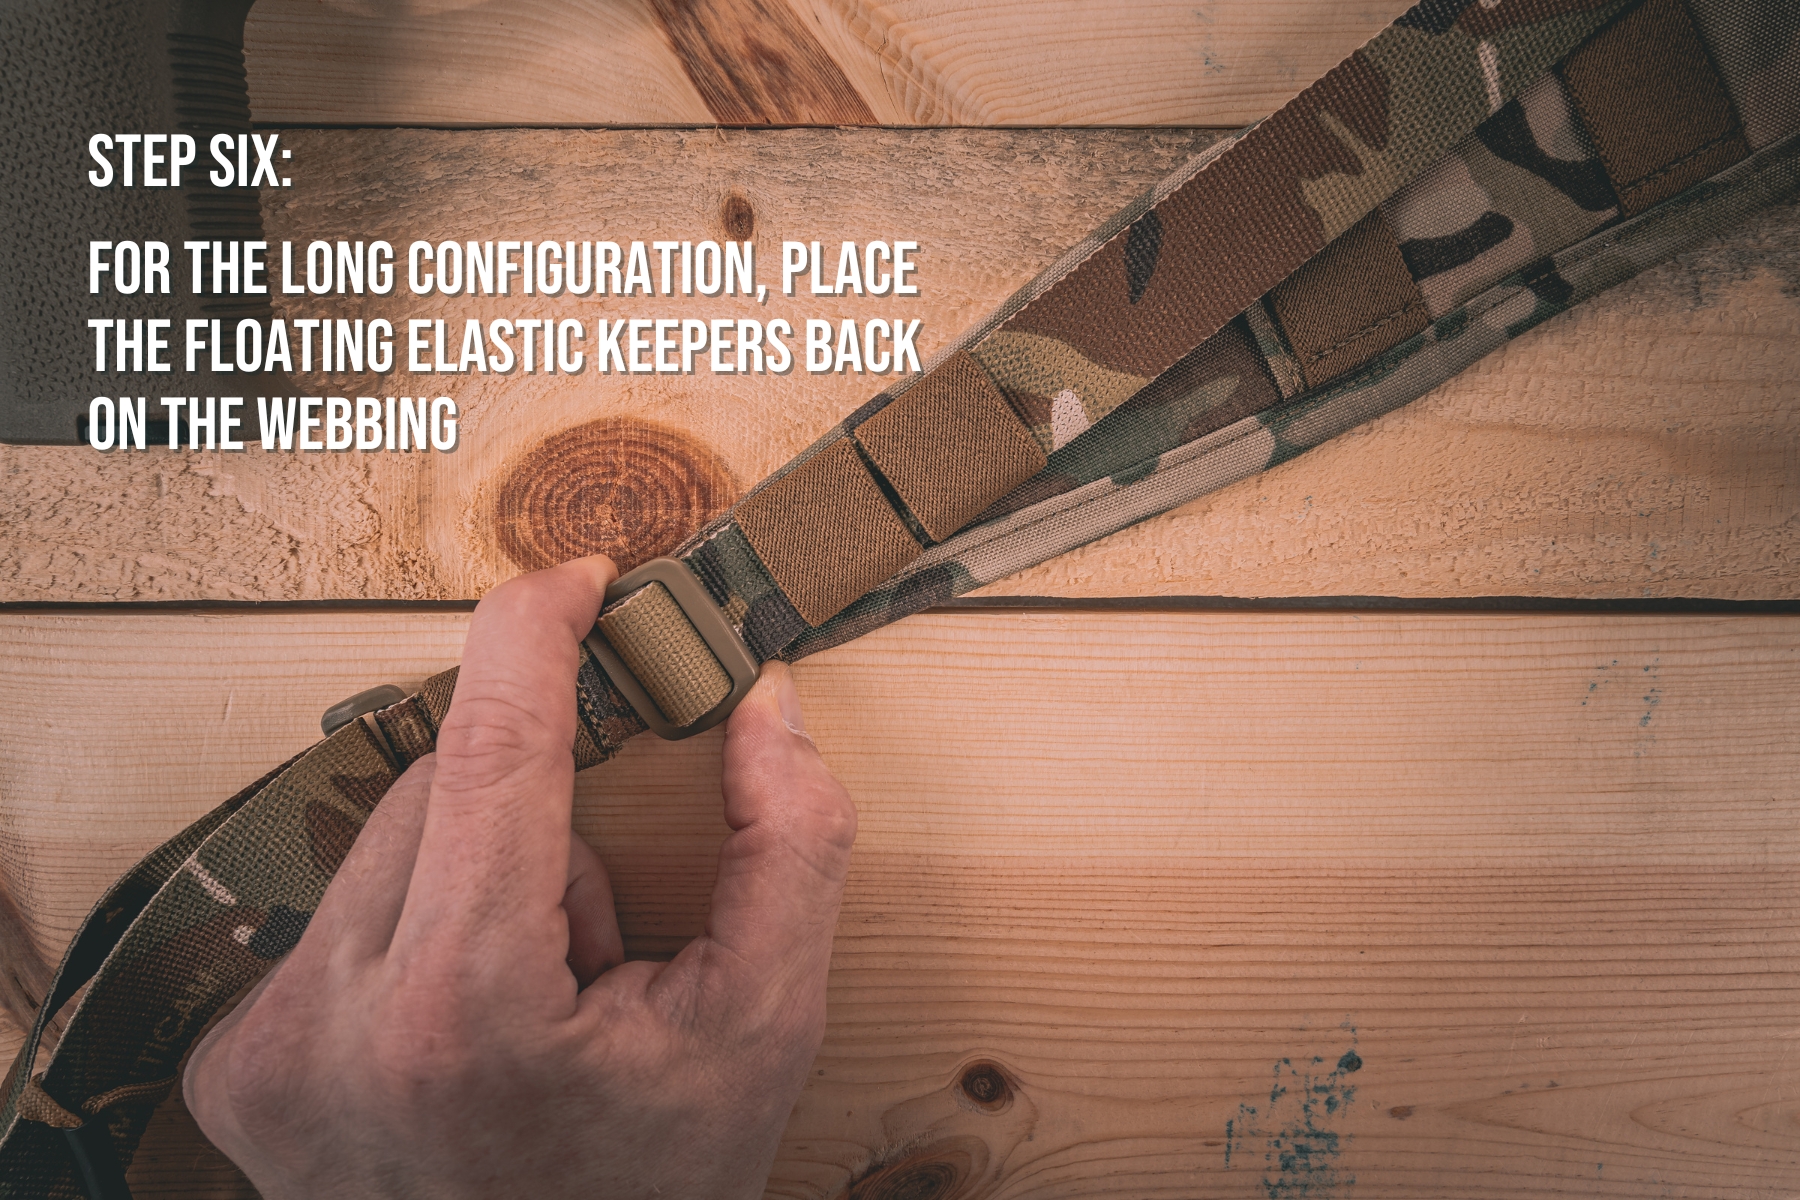
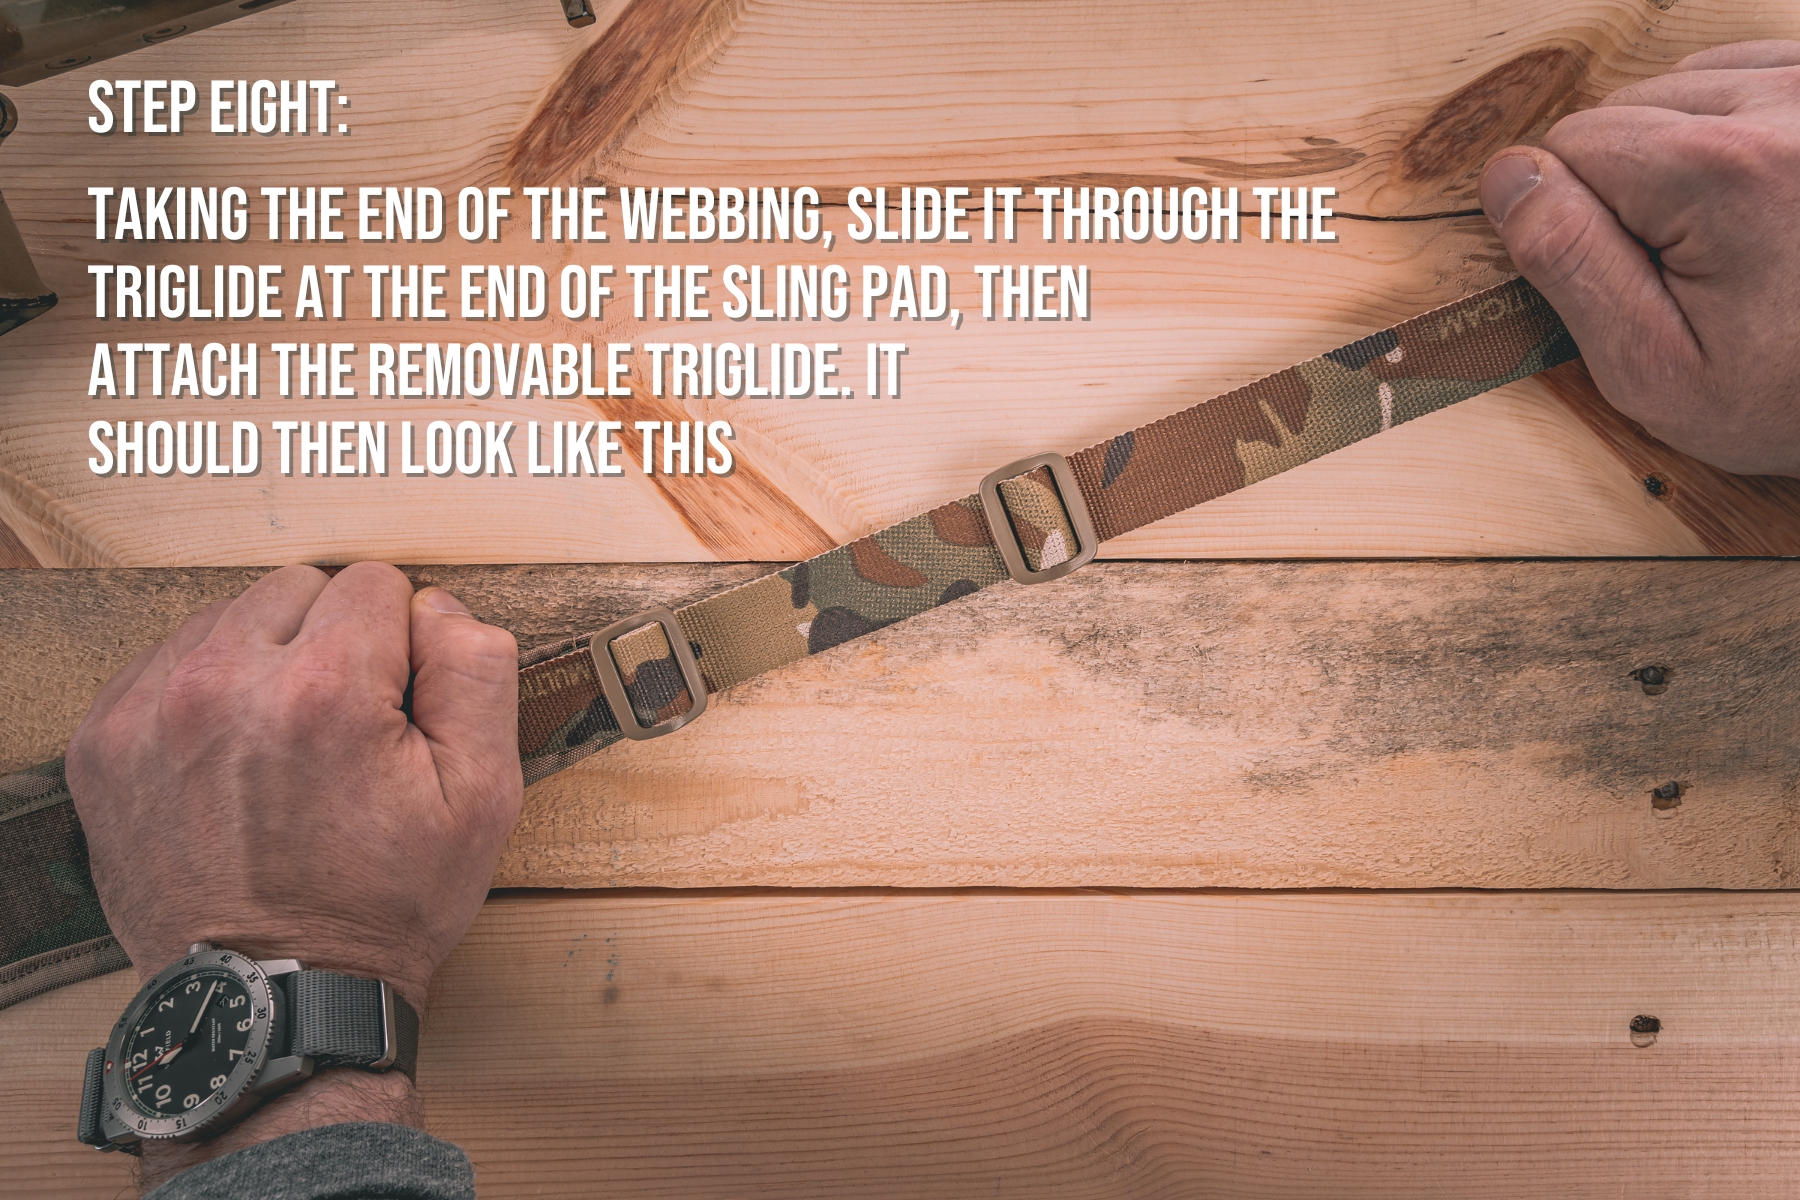
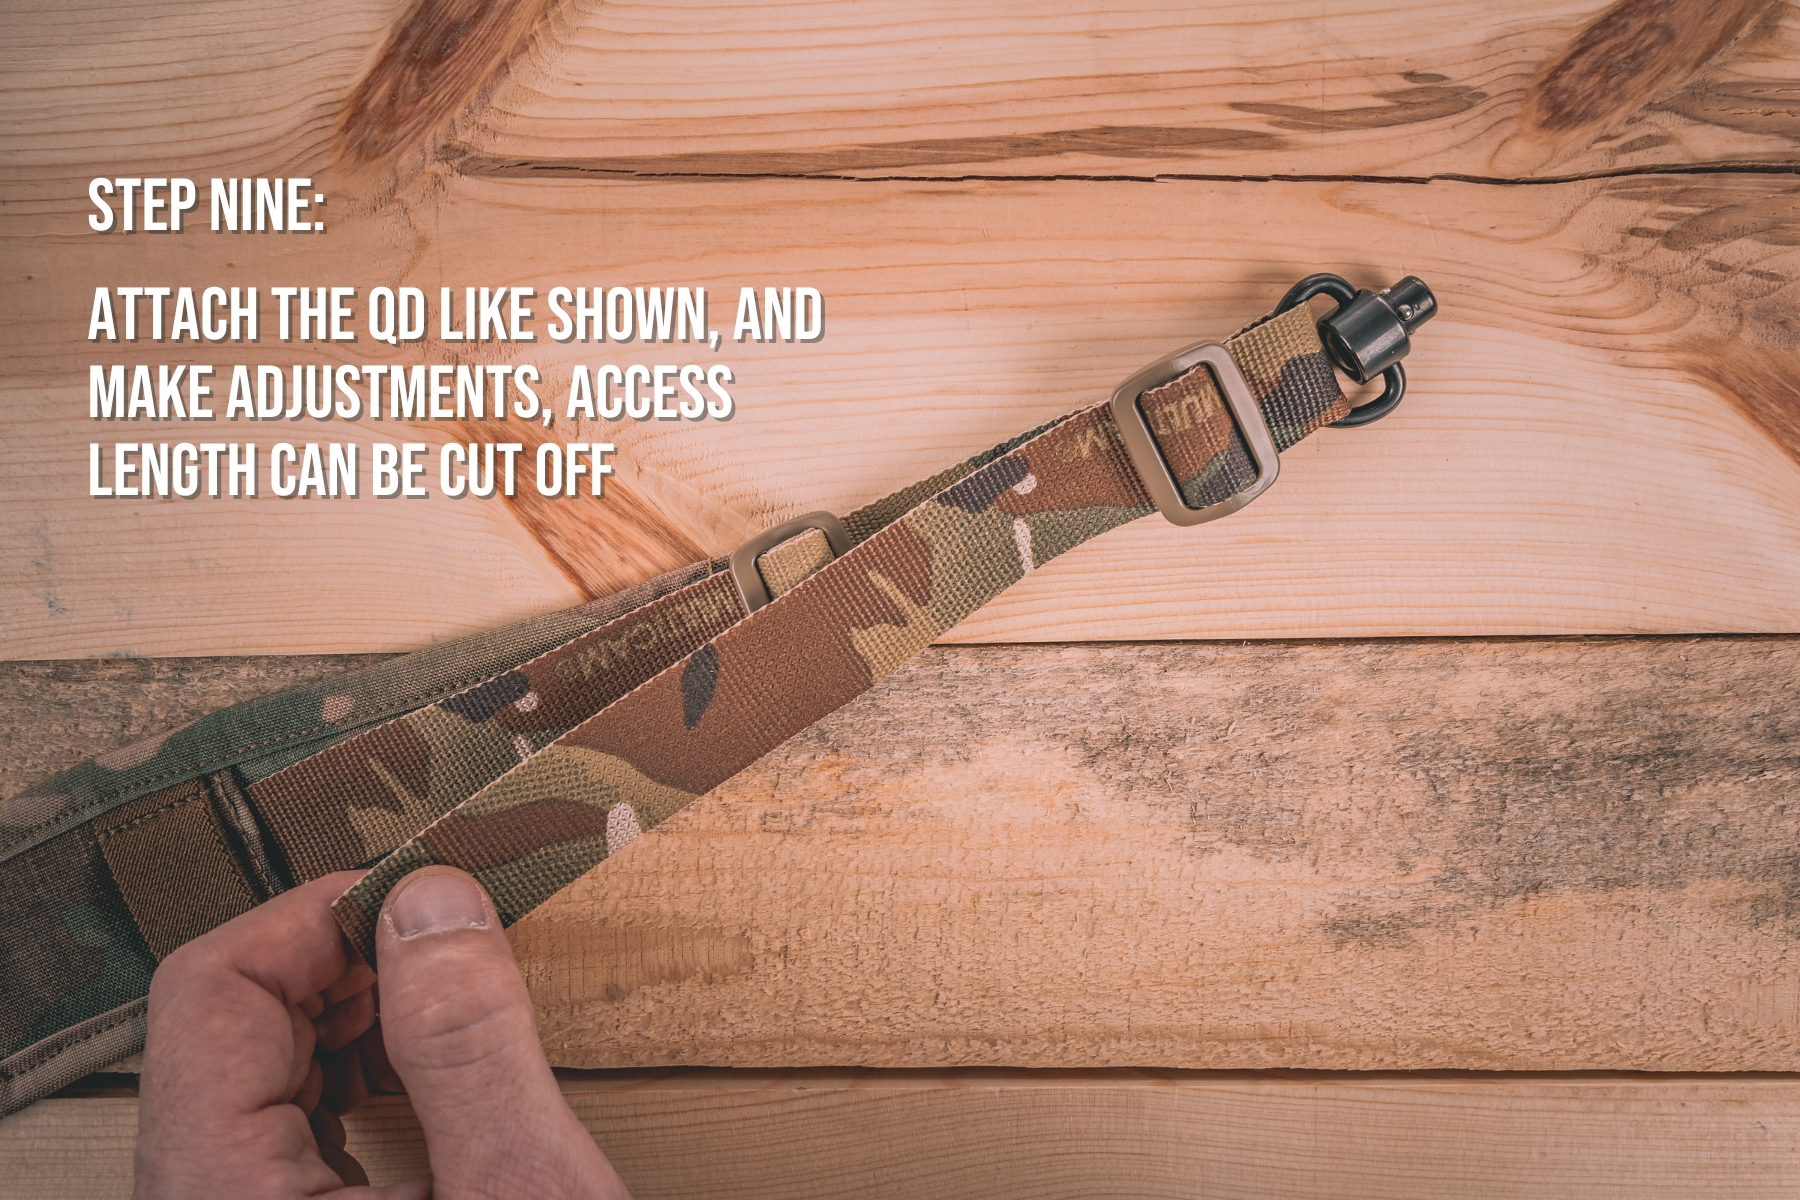
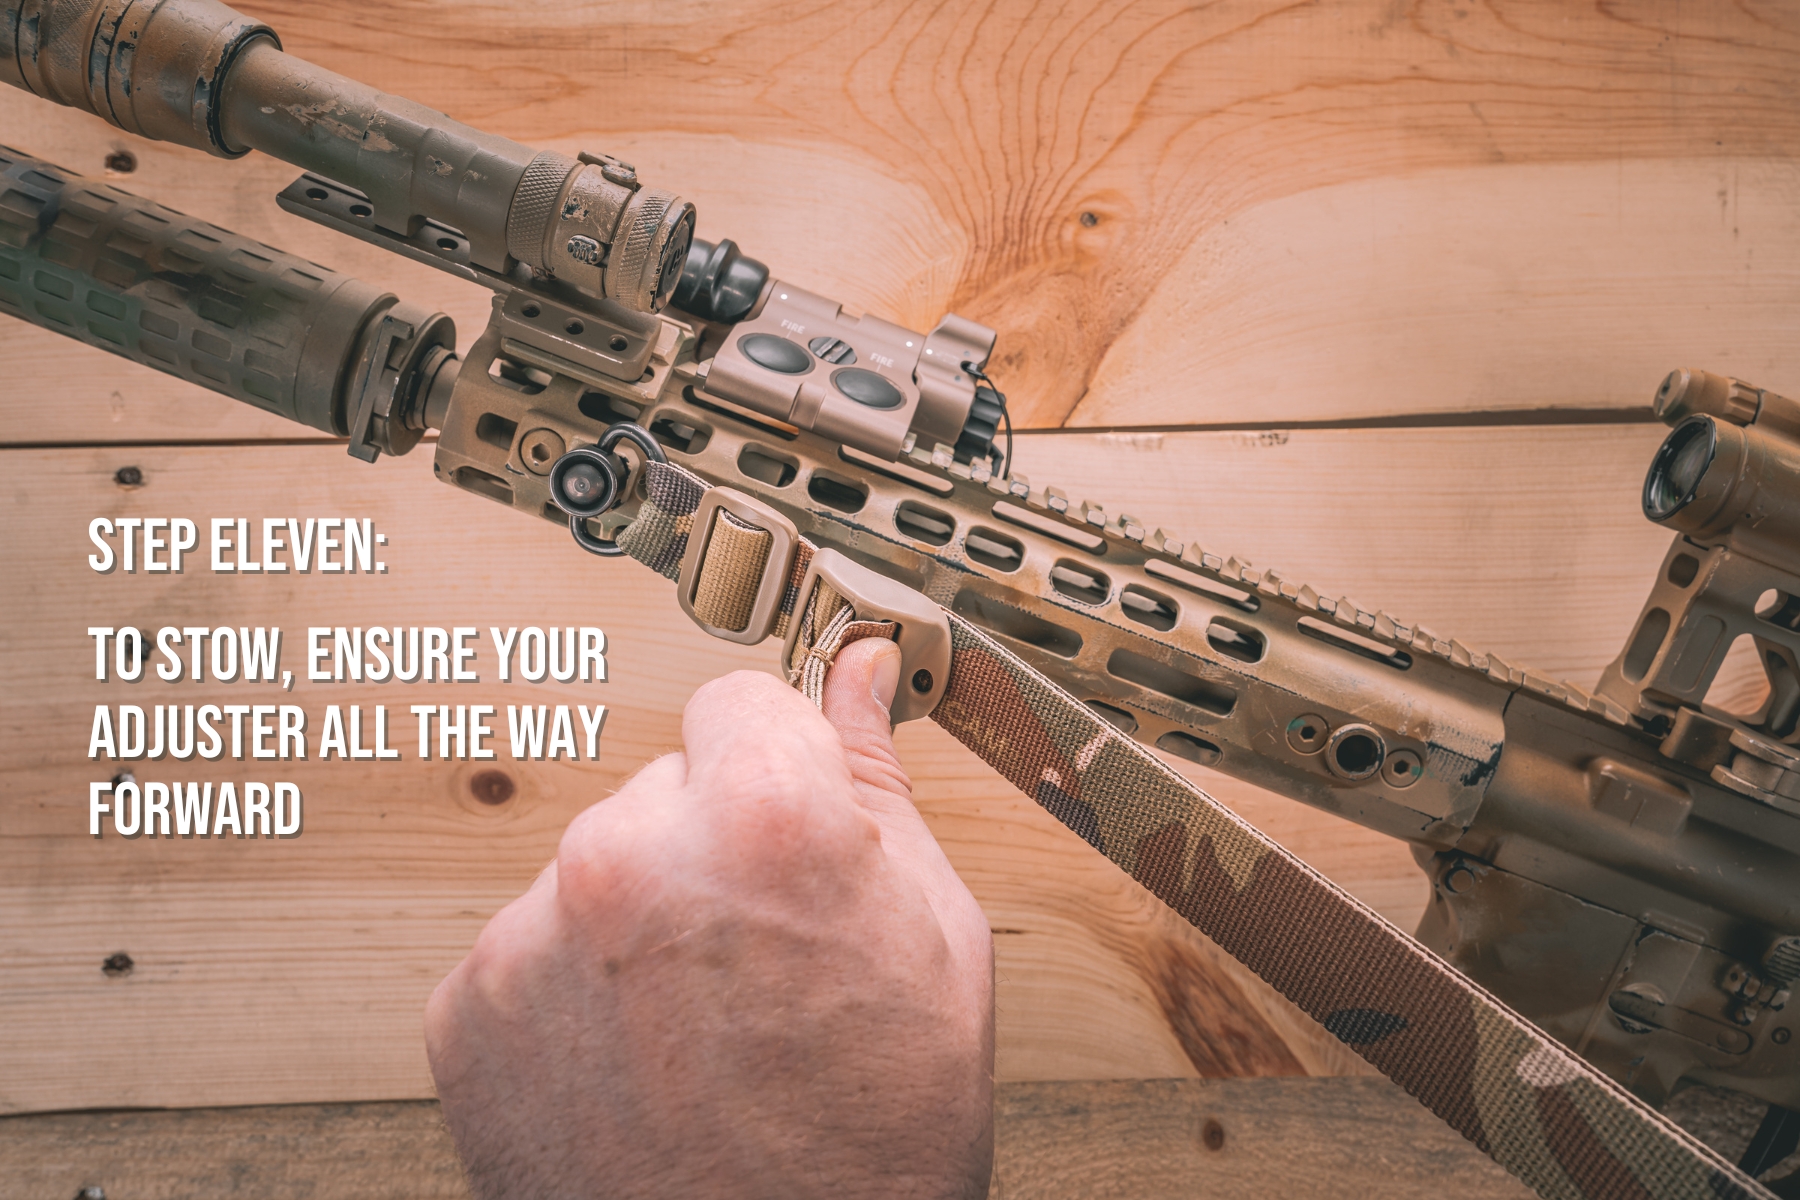
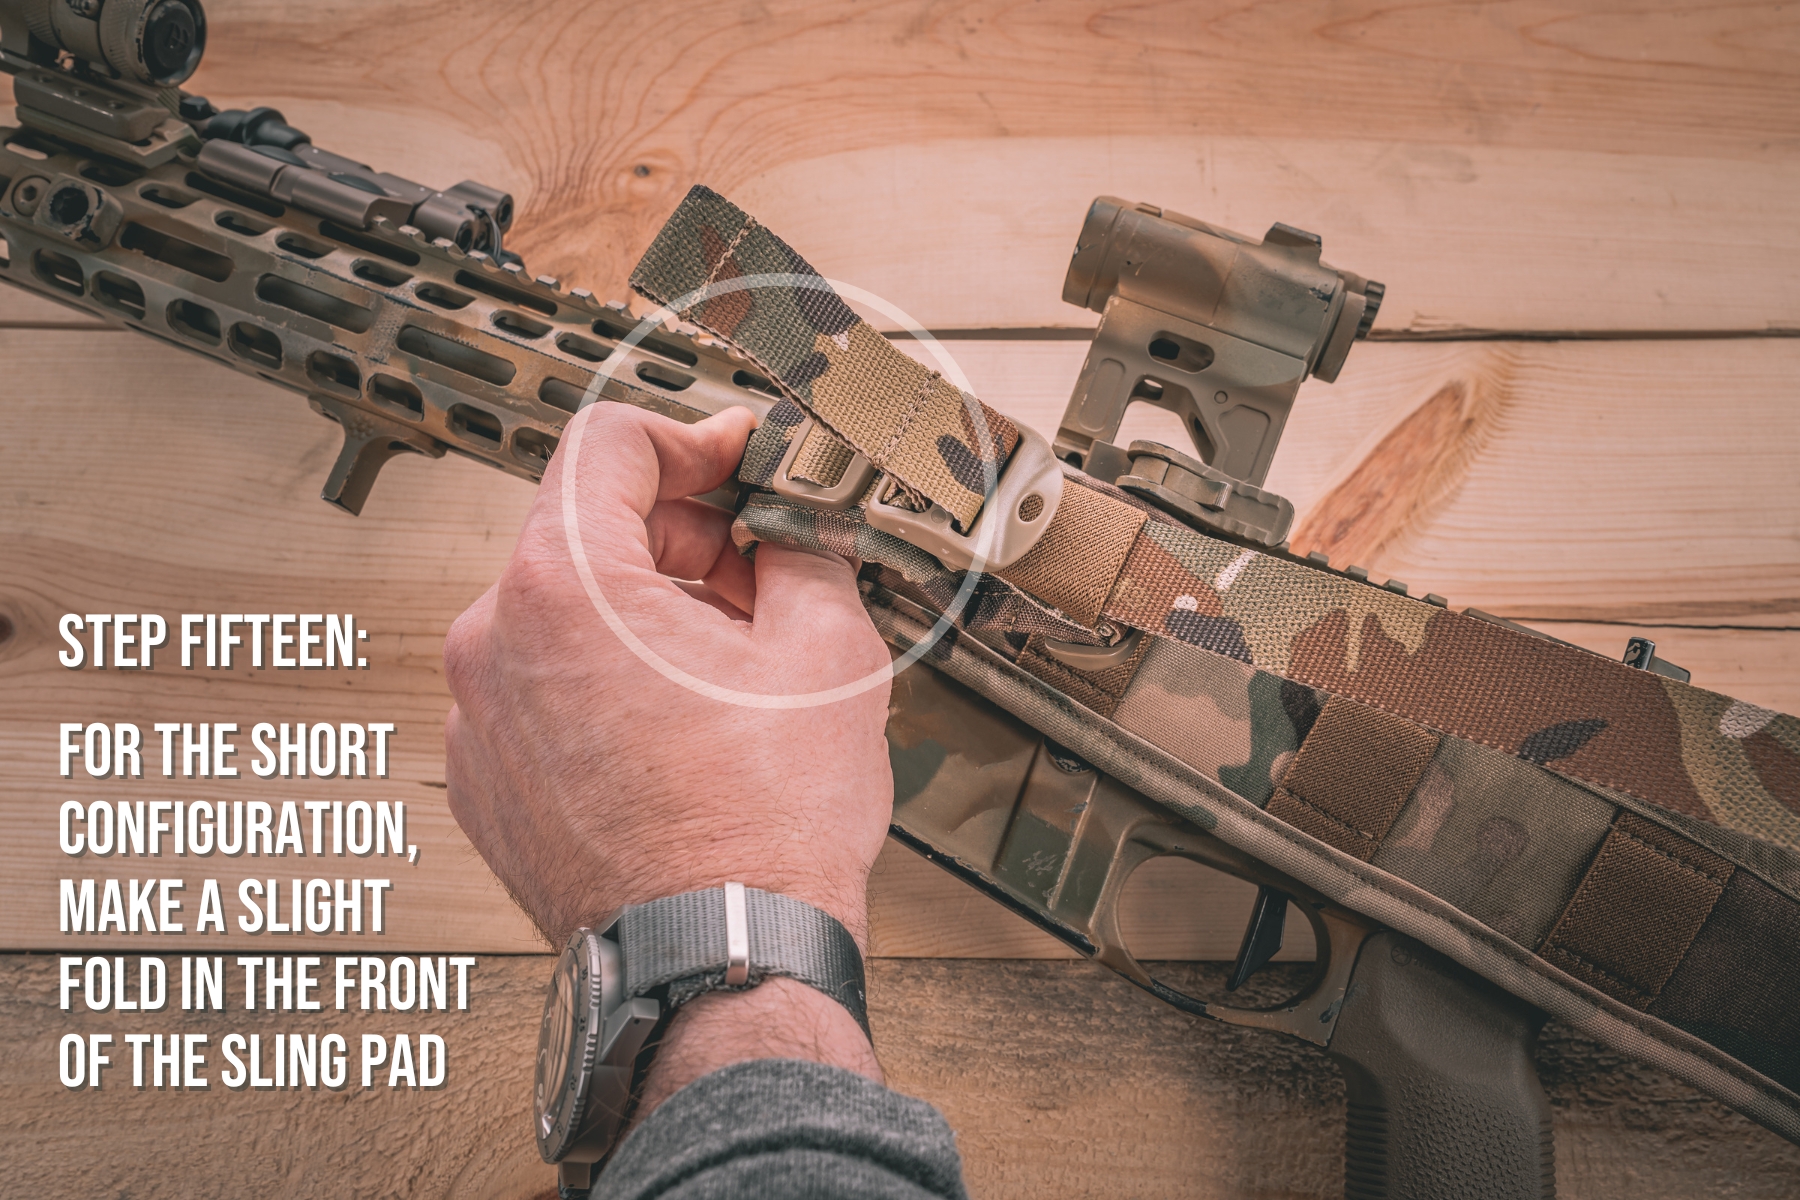
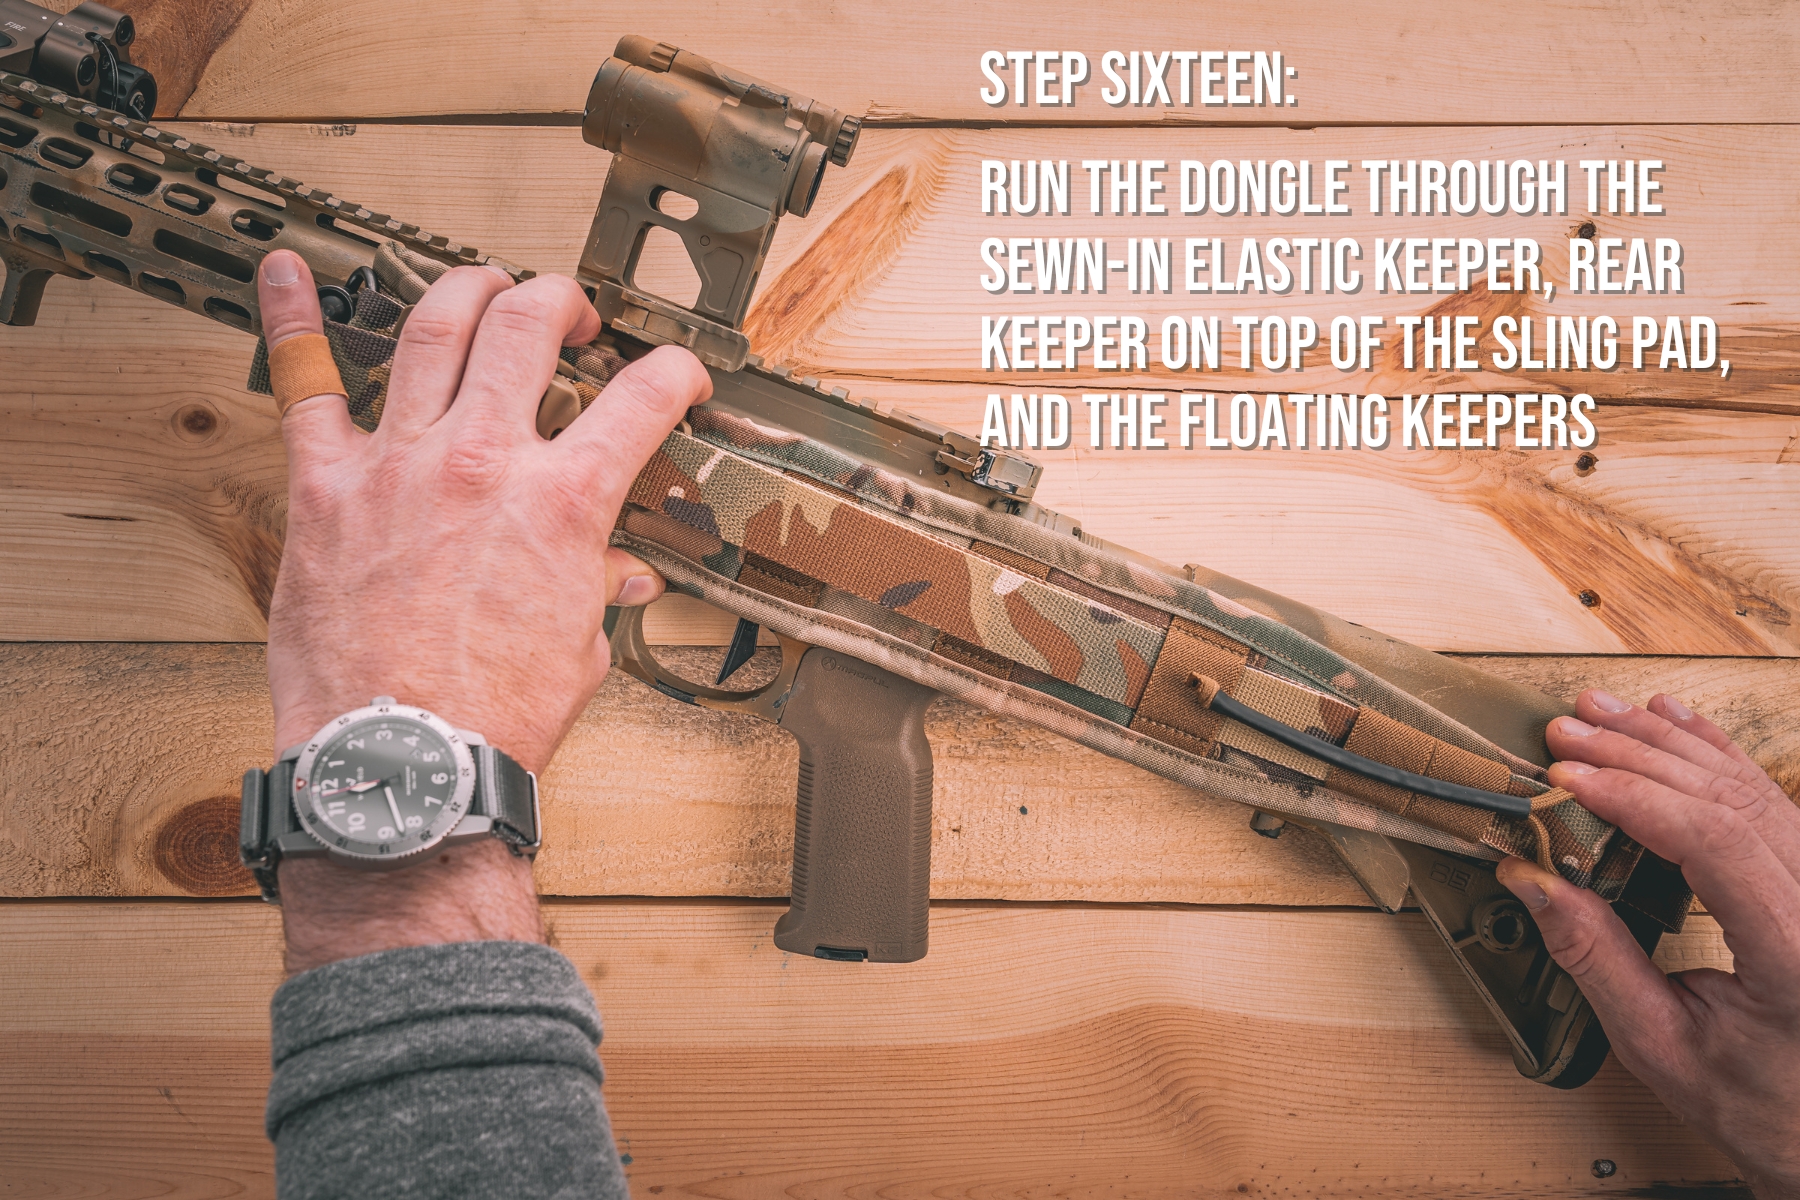
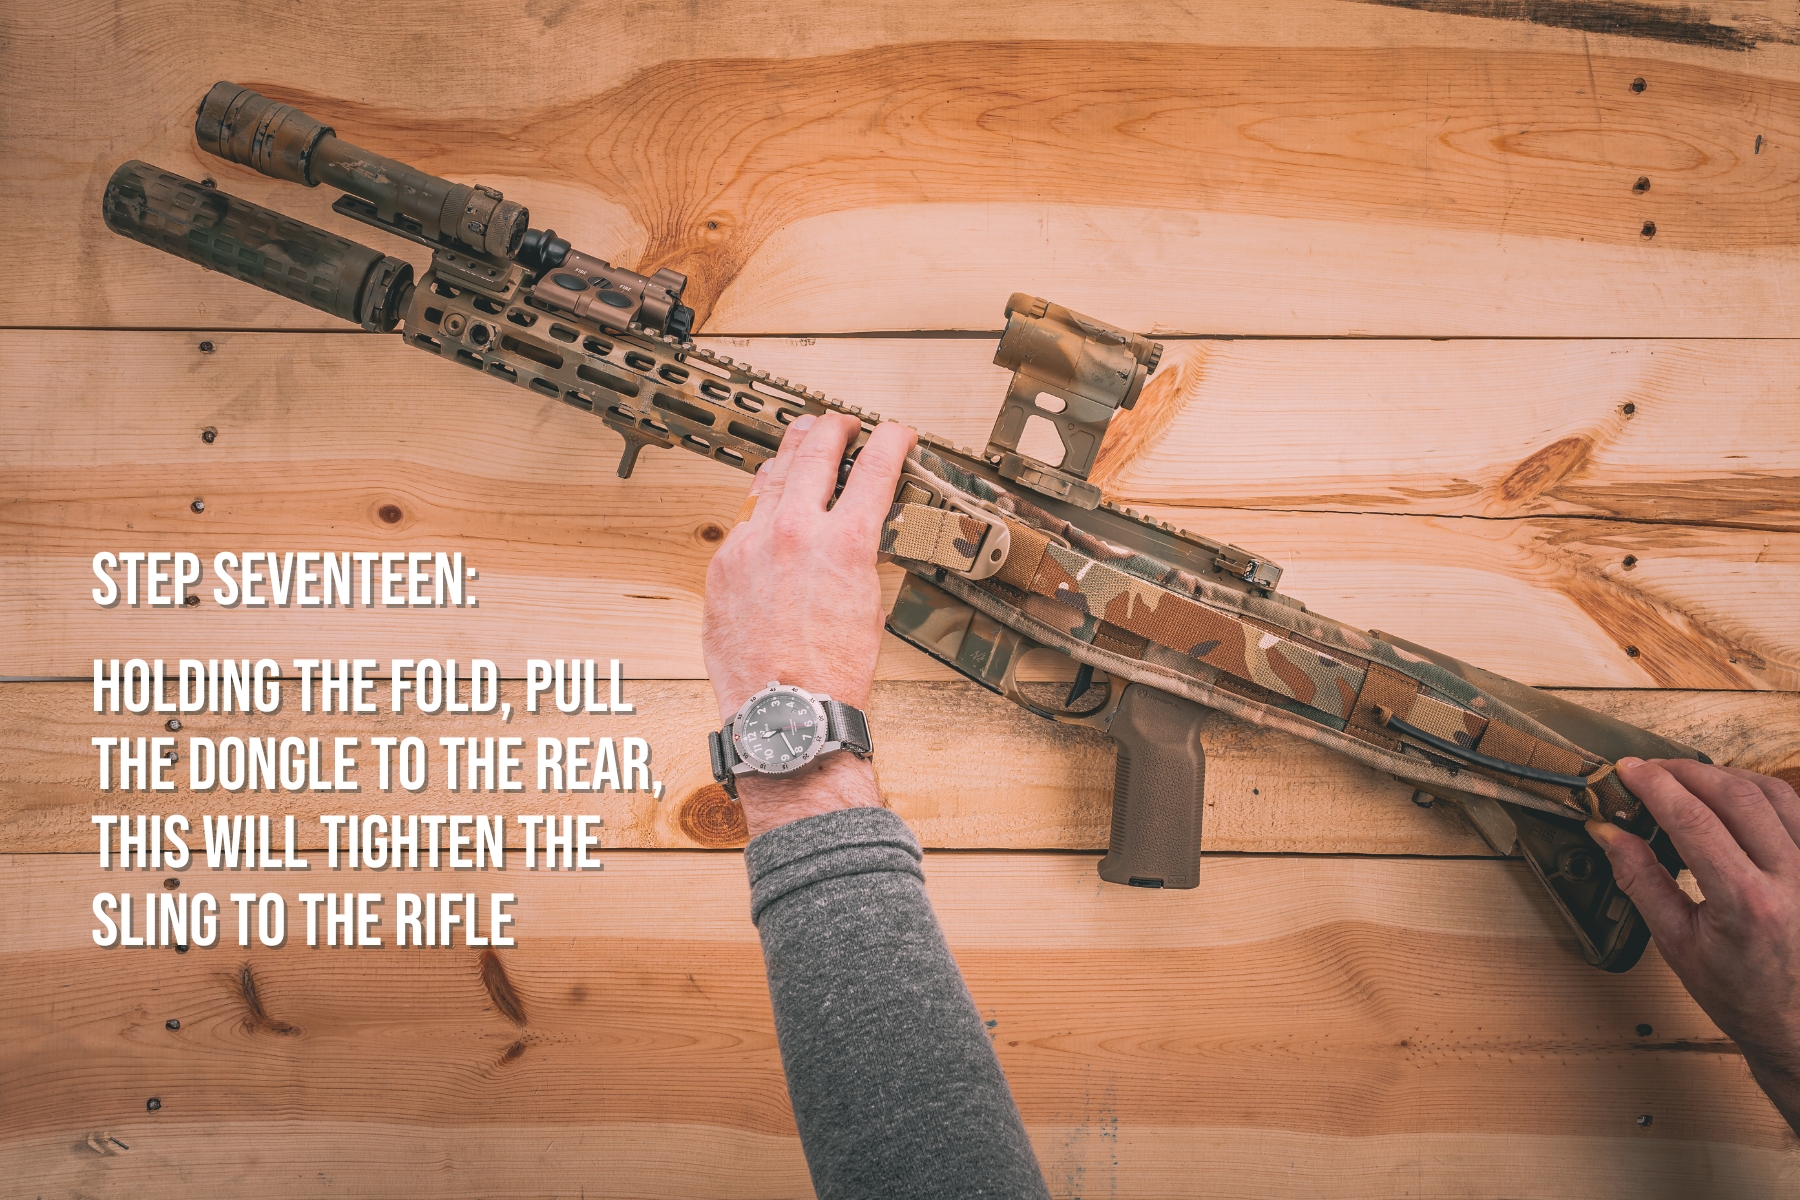
Posted by Jesse Gullikson on Dec 13th 2023

Rifle Sling Setup Simplified: A Step-by-Step Guide to install your Defense Mechanisms Rifle Sling Pad

Step One: Ensure the Weapon is Unloaded

Step Two: With the Front of the Sling (End Closest to the Adjuster) Run the Webbing Through the QD and then back through the Triglide

Step Three: It should look like this

Step Four: With the opposite end (the other side) remove the two floating elastic keepers and removable Triglide

Step Five: Run the webbing through the front Triglide of the sling pad

Step Six: For the long configuration, place the floating elastic keepers back on the webbingStep Seven: Run the webbing under the Cordera channel (not through the elastic)(For stowing in the short configuration, see next step)

Step Eight: Taking the end of the webbing, slide it through the Triglide at the end of the sling pad, then attach the removable Triglide. It should then look like this

Step Nine: Attach the QD like shown, and make adjustments, access length can be cut off

Step Ten: Make adjustments to the front, access length can be cut off

Step Eleven: To stow, ensure your adjuster all the way forward

Step Twelve: For the long configuration, first run the dongle through the sewn-in and two floating elastic keepers

Step Thirteen: Proceed to run the dongle through the other elastic keepers on top of the sling pad, holding the loop lock and pull the dongle to the rear, this will tighten the sling to the rifle

Step Fourteen: For stowing in the short configuration, place the floating keepers back on the webbing at the rear of the sling pad

Step Fifteen: For the short configuration, make a slight fold in the front of the sling pad

Step Sixteen: Run the dongle through the sewn-in elastic keeper, rear keeper on top of the sling pad, and the floating keepers

Step Seventeen: Holding the fold, pull the dongle to the rear, this will tighten the sling to the rifle

Short Configuration

Long Configuration

  • #HowToSlingPadSetup
  • #PadforSling
  • #RifleSlingPad
  • #RifleSlingPadSetup
  • #StowableSling
  • #StowingRifleSlingPad
Newsletter Signup

Footer Start

Categories
  • Shop All
  • Carrier Systems
  • Equipment
  • Support Gear
  • Apparel
  • Custom Patches
  • Gift Certificates
Information
  • Rewards
  • Contact Us
  • Home
  • FAQ
  • Join Our Team
  • Policies
  • ADA Accessibility
  • Breach Point
  • Sitemap
Brands
  • Defense Mechanisms
  • North American Rescue
  • ONYX
  • Hesco
  • True North Concepts
  • Good Dude Concepts
  • Guardian Warrior Solutions
  • Soileater
  • View All
Follow Us
Defense Mechanisms
1124 W 5th St
Winona, MN 55987