

Posted by Jesse Gullikson on Mar 12th 2024
Mastering Rifle Ready and Carry Positions
Mastering ready and carry positions is paramount for ensuring safety, efficiency, and readiness in any situation. Whether you're navigating through tight environments or preparing to engage a threat, understanding these positions can make all the difference. This guide will break down the key concepts and techniques behind Rifle ready and carry positions.
Understanding Ready and Carry Positions
Before delving into specific positions, it's essential to grasp the distinction between carry and ready positions. A carry position is one in which the muzzle is oriented to move safely in environments without posing a threat to oneself or others. On the other hand, a ready position is one from which you're prepared to take action.
Ideal Sling Setup
A crucial component of effective rifle handling is the sling setup. The preferred choice is a two-point sling for its simplicity and versatility. The setup should allow for easy adjustment and positioning, especially if the sling is attached at the two furthest points away from each other on the rifle.

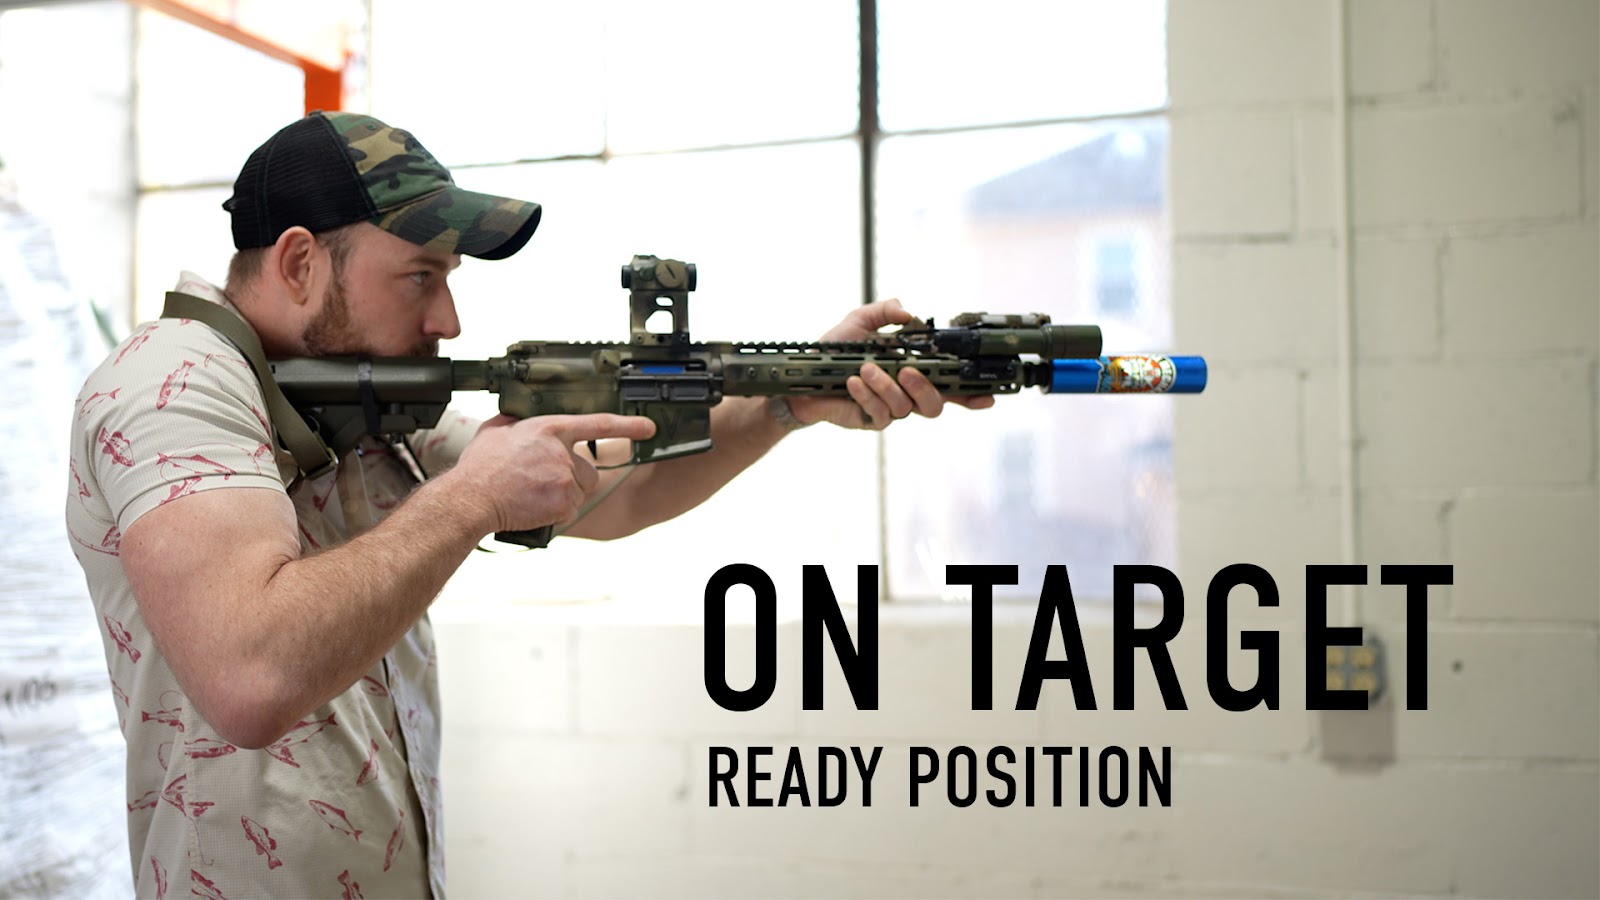
On-Target Ready Position
The on-target ready position is the starting point for engaging a threat. It involves mounting the rifle securely, enabling the use of sights, lights, and lasers to assess and address the situation.
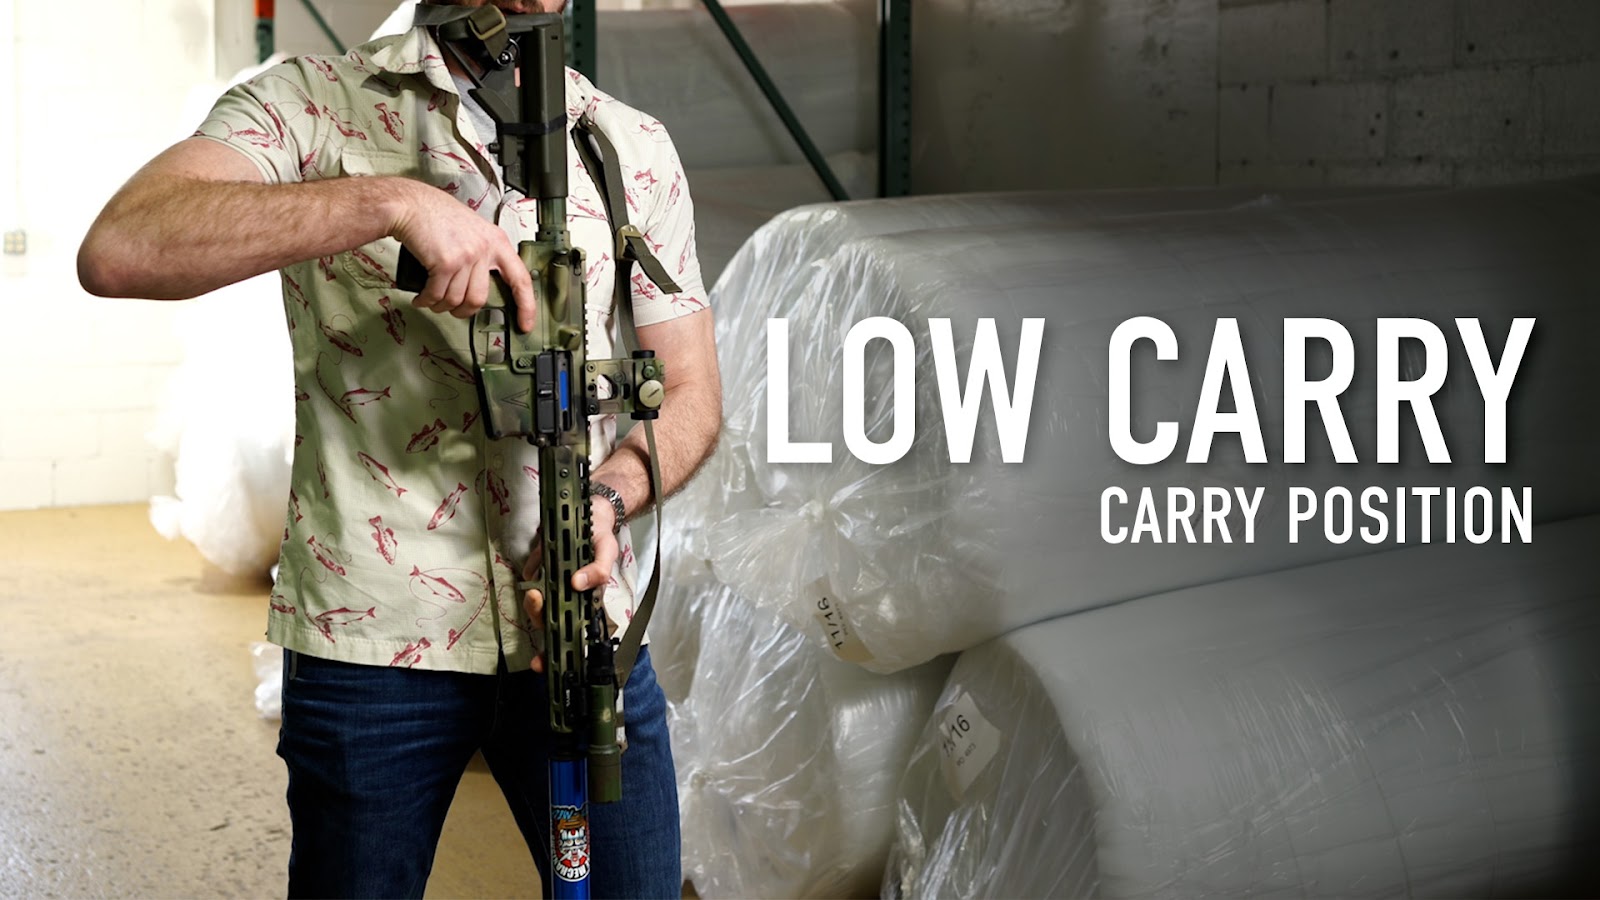
Carry Positions
When moving with teammates or close to others, carry positions become vital. To simplify this step, know that the rifle can only be directly up or directly down. The low carry position involves depressing the muzzle, ensuring it remains pointed directly downward to avoid flagging teammates or bystanders.
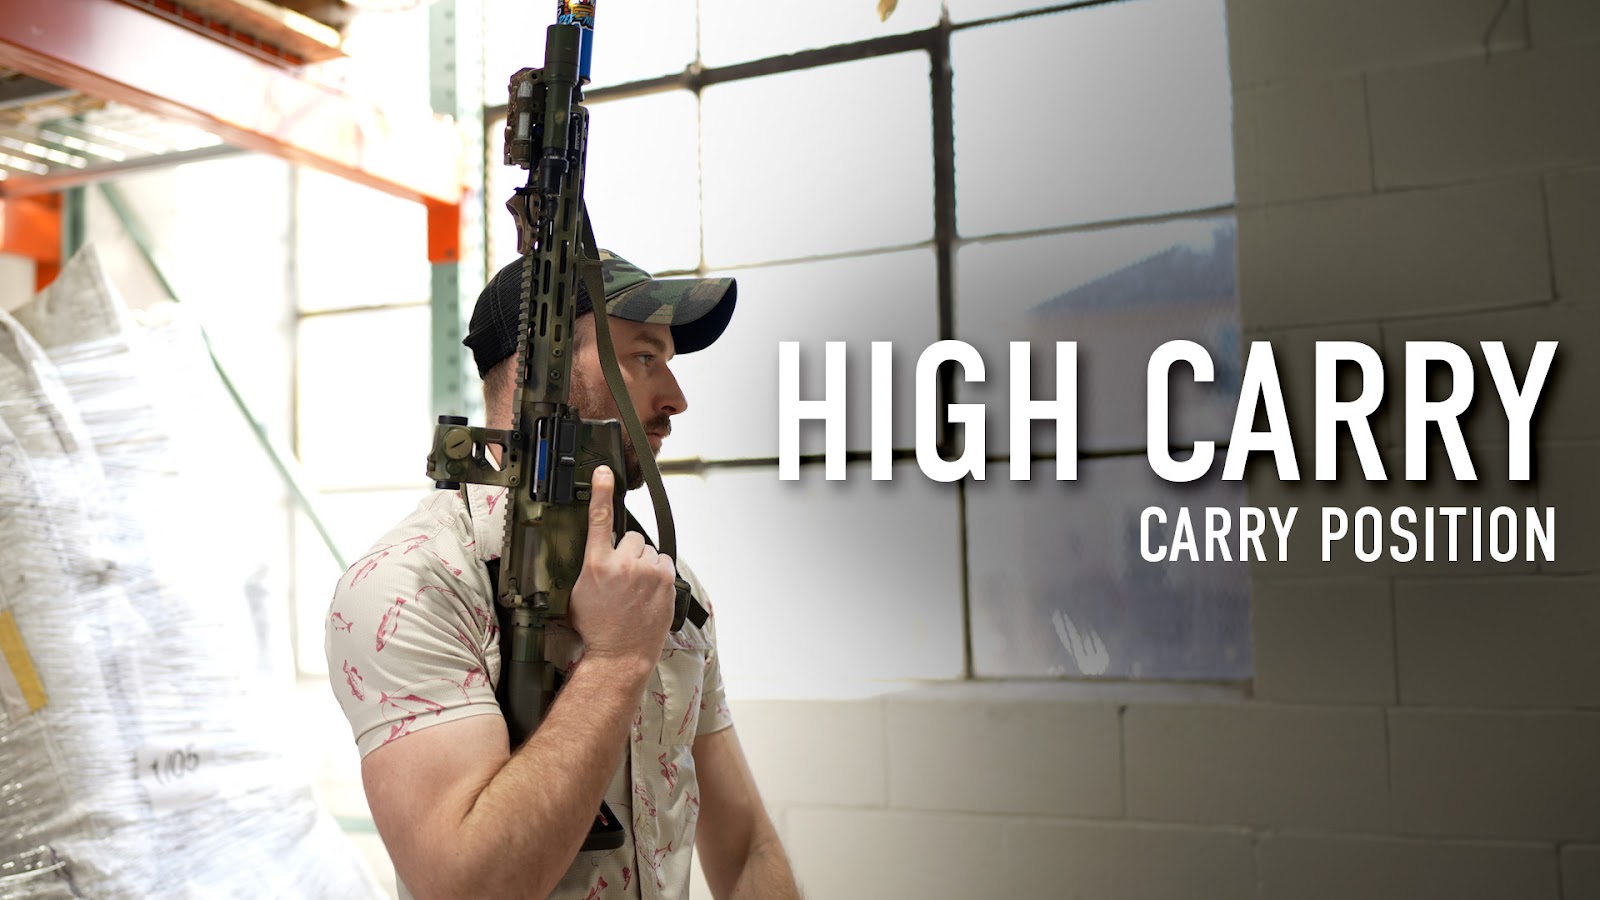
Conversely, the high carry position is employed when pointing the muzzle down isn't feasible, such as when teammates are below you. It involves orienting the muzzle up while keeping the rifle close to the body to maintain stability.
Ready Positions
Ready positions offer a balance between readiness and safety. The low ready position involves depressing the muzzle to clear the line of sight, adjusting its height based on the distance to the target.

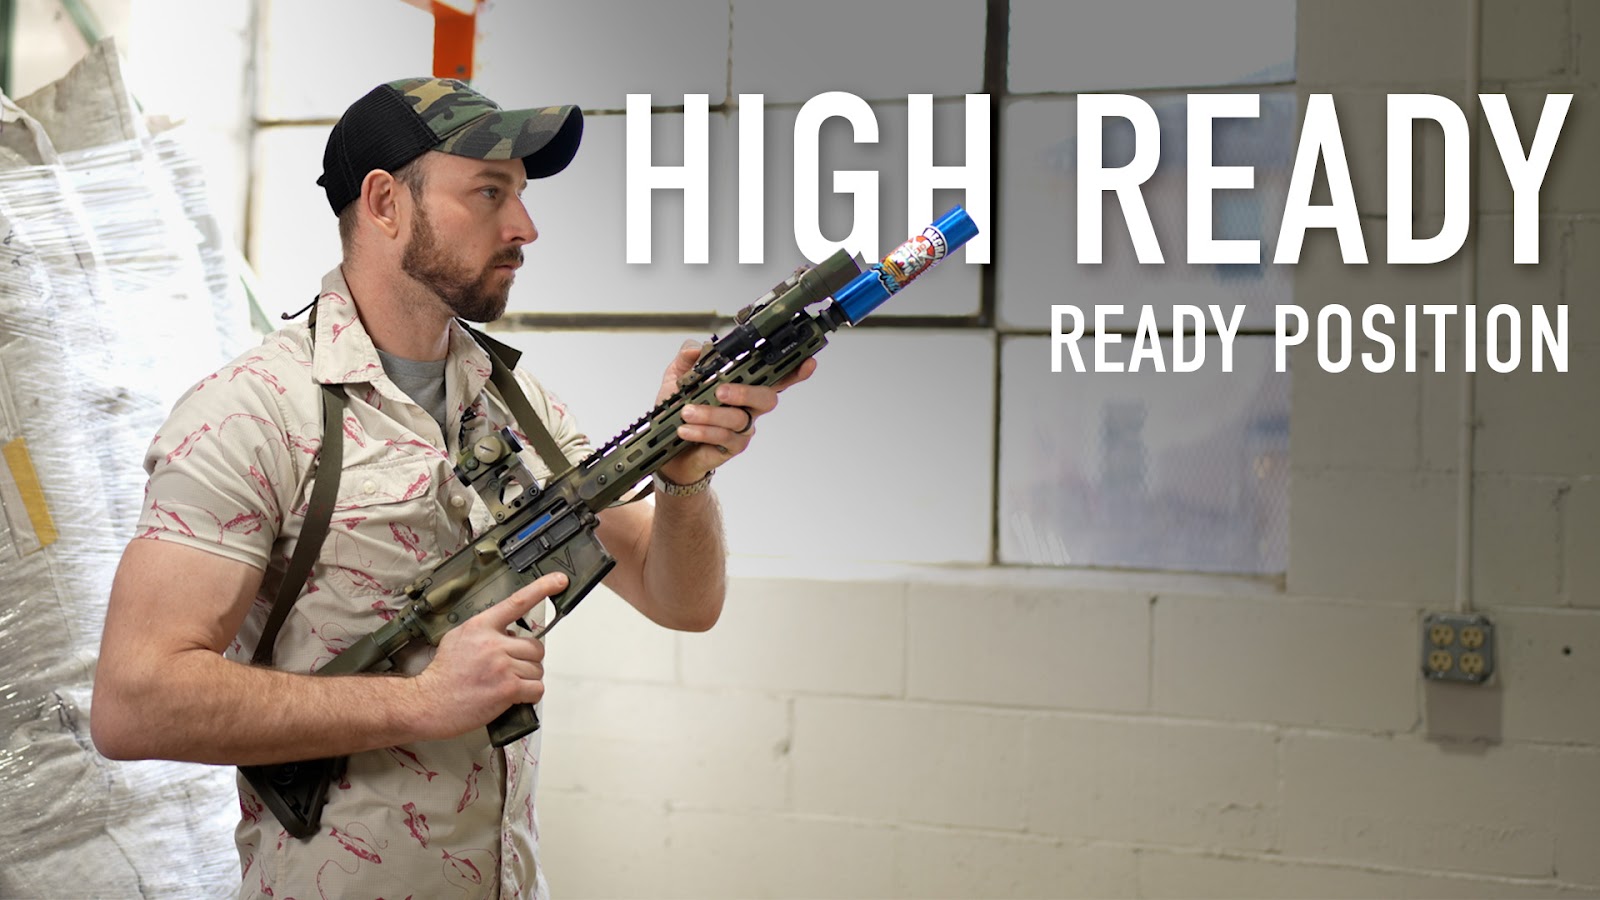
The high ready position rests the rifle’s stock near the belt line with the muzzle pointed above any potential targets. This position facilitates quick target acquisition while maintaining situational awareness.
In situations requiring close-quarter engagement or extended periods of observation, the position of retention provides stability and control. By tucking the rifle under the arm and keeping it horizontal to the ground, one can maintain readiness while conserving energy.

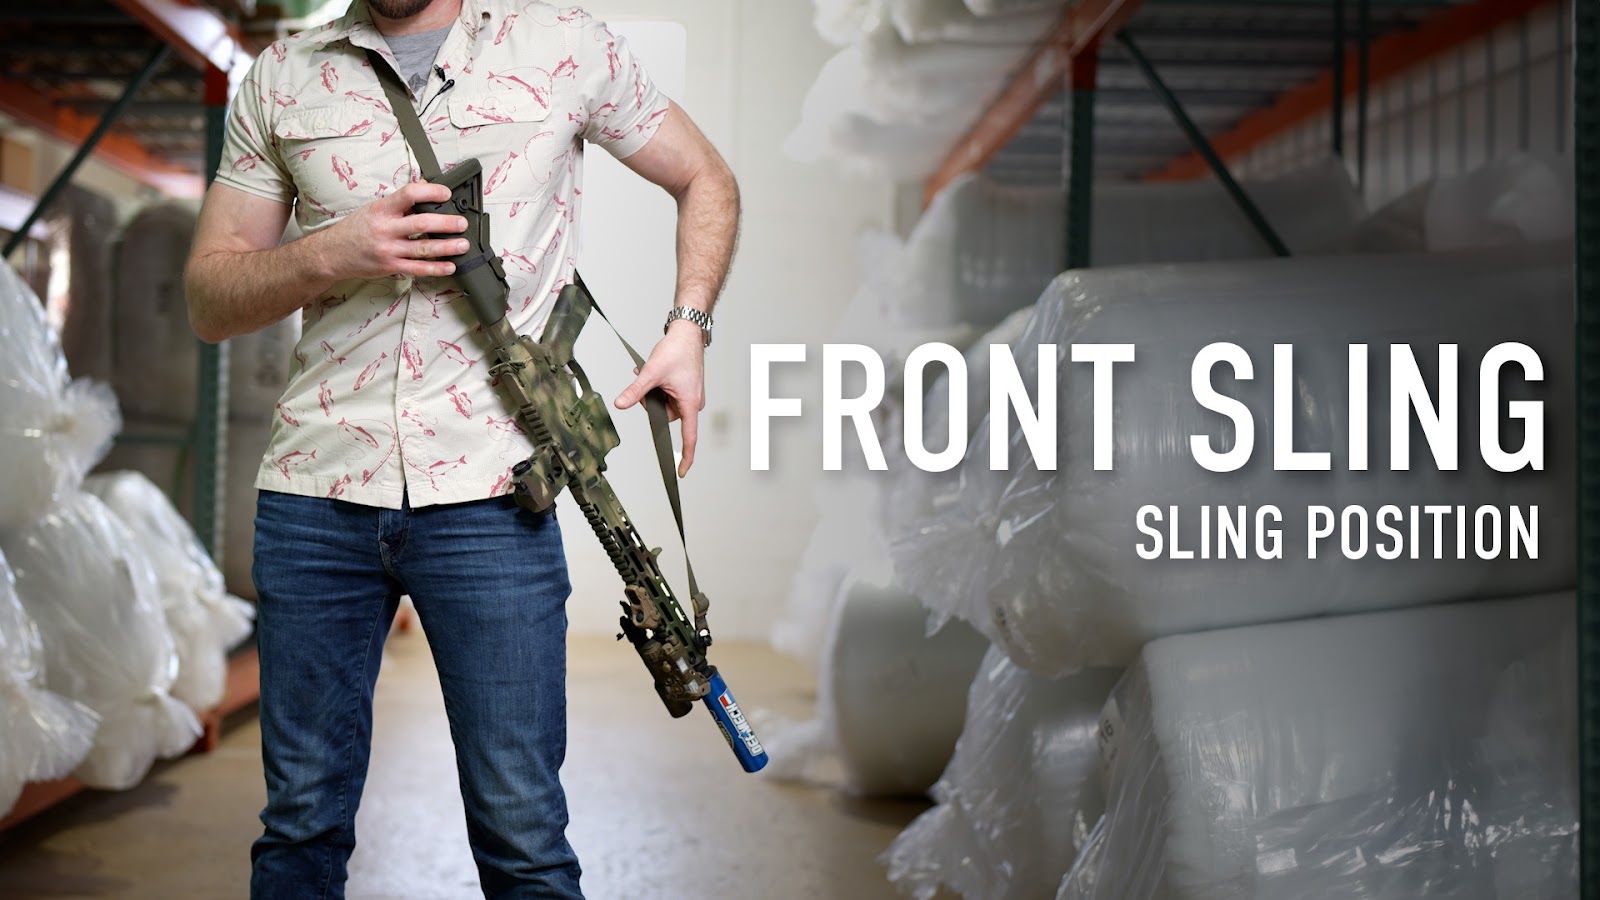
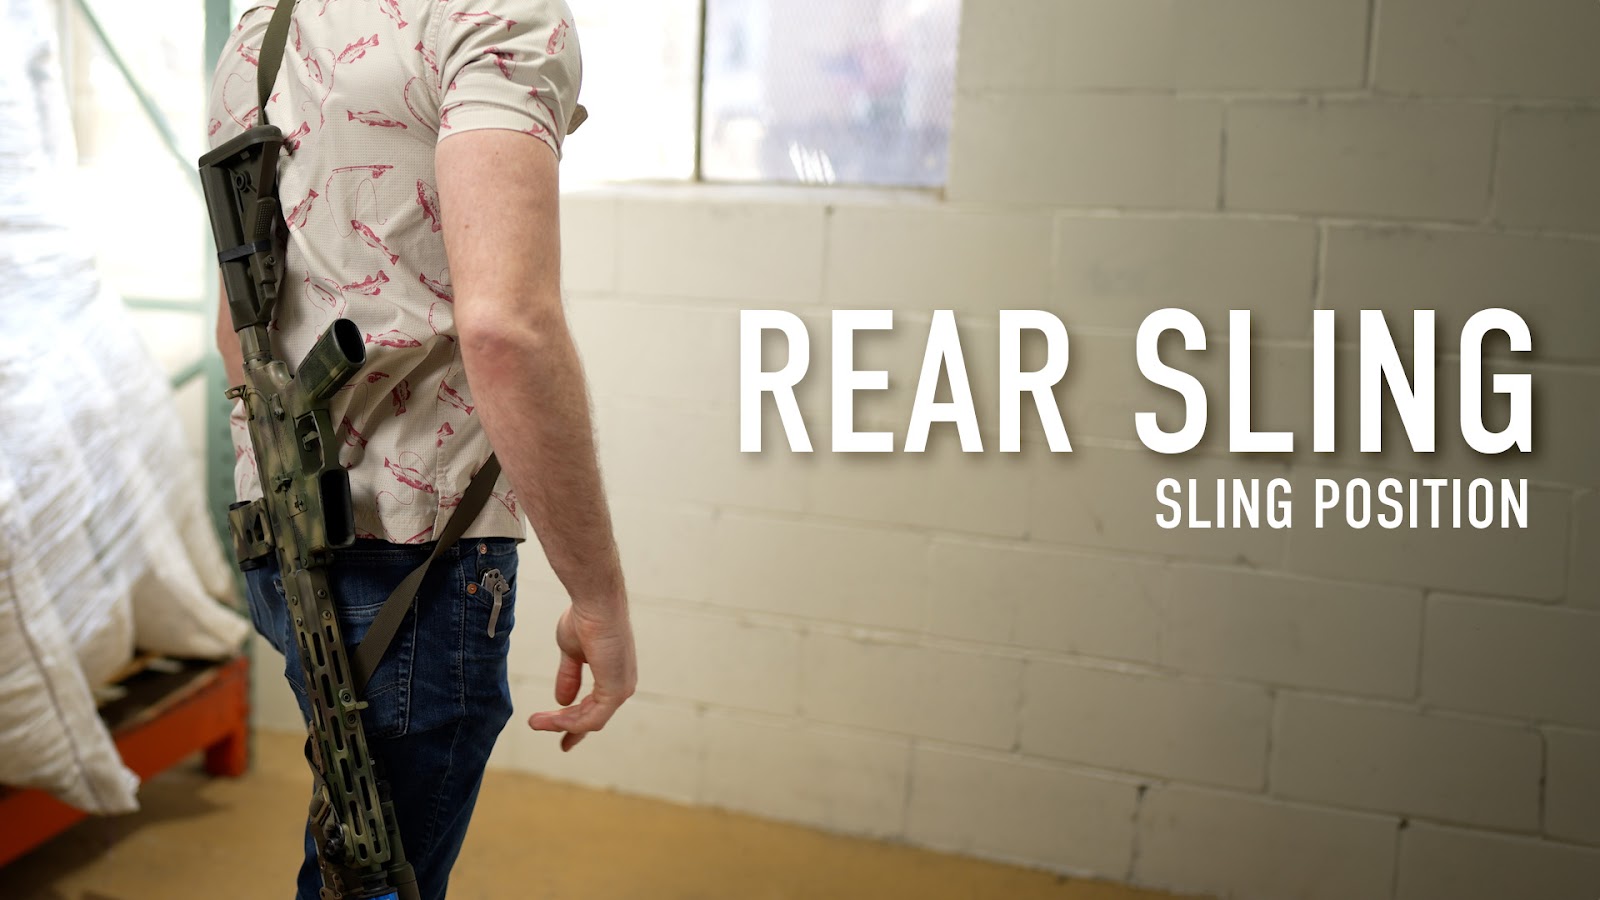
Sling Positions
Utilizing the sling effectively enhances rifle handling and maneuverability. The front sling position involves swinging the arm inside, controlling the front of the gun, and rolling it away from the body to keep fire controls safe.
Similarly, the rear sling position allows for securing the rifle on the back, again rolling the rifle to have fire controls faced away from the body. This ensures safety and accessibility when not in use.
Mastering rifle ready and carry positions isn’t just about technique; it's about ingraining safe and effective practices into muscle memory. Individuals can enhance their capabilities and readiness in tactical environments by understanding and practicing these positions. Remember, safety should always be the top priority, so maintain definitive carry positions until you're ready to engage. With dedication and training, mastering these positions will become second nature, ensuring you're always prepared to face any challenge that comes your way.